CloudBees CI - Cross Team Collaboration
Enable Cross Team Collaboration Notifications
- Navigate to the top-level of your Team Master and click on Manage Jenkins in the left menu.

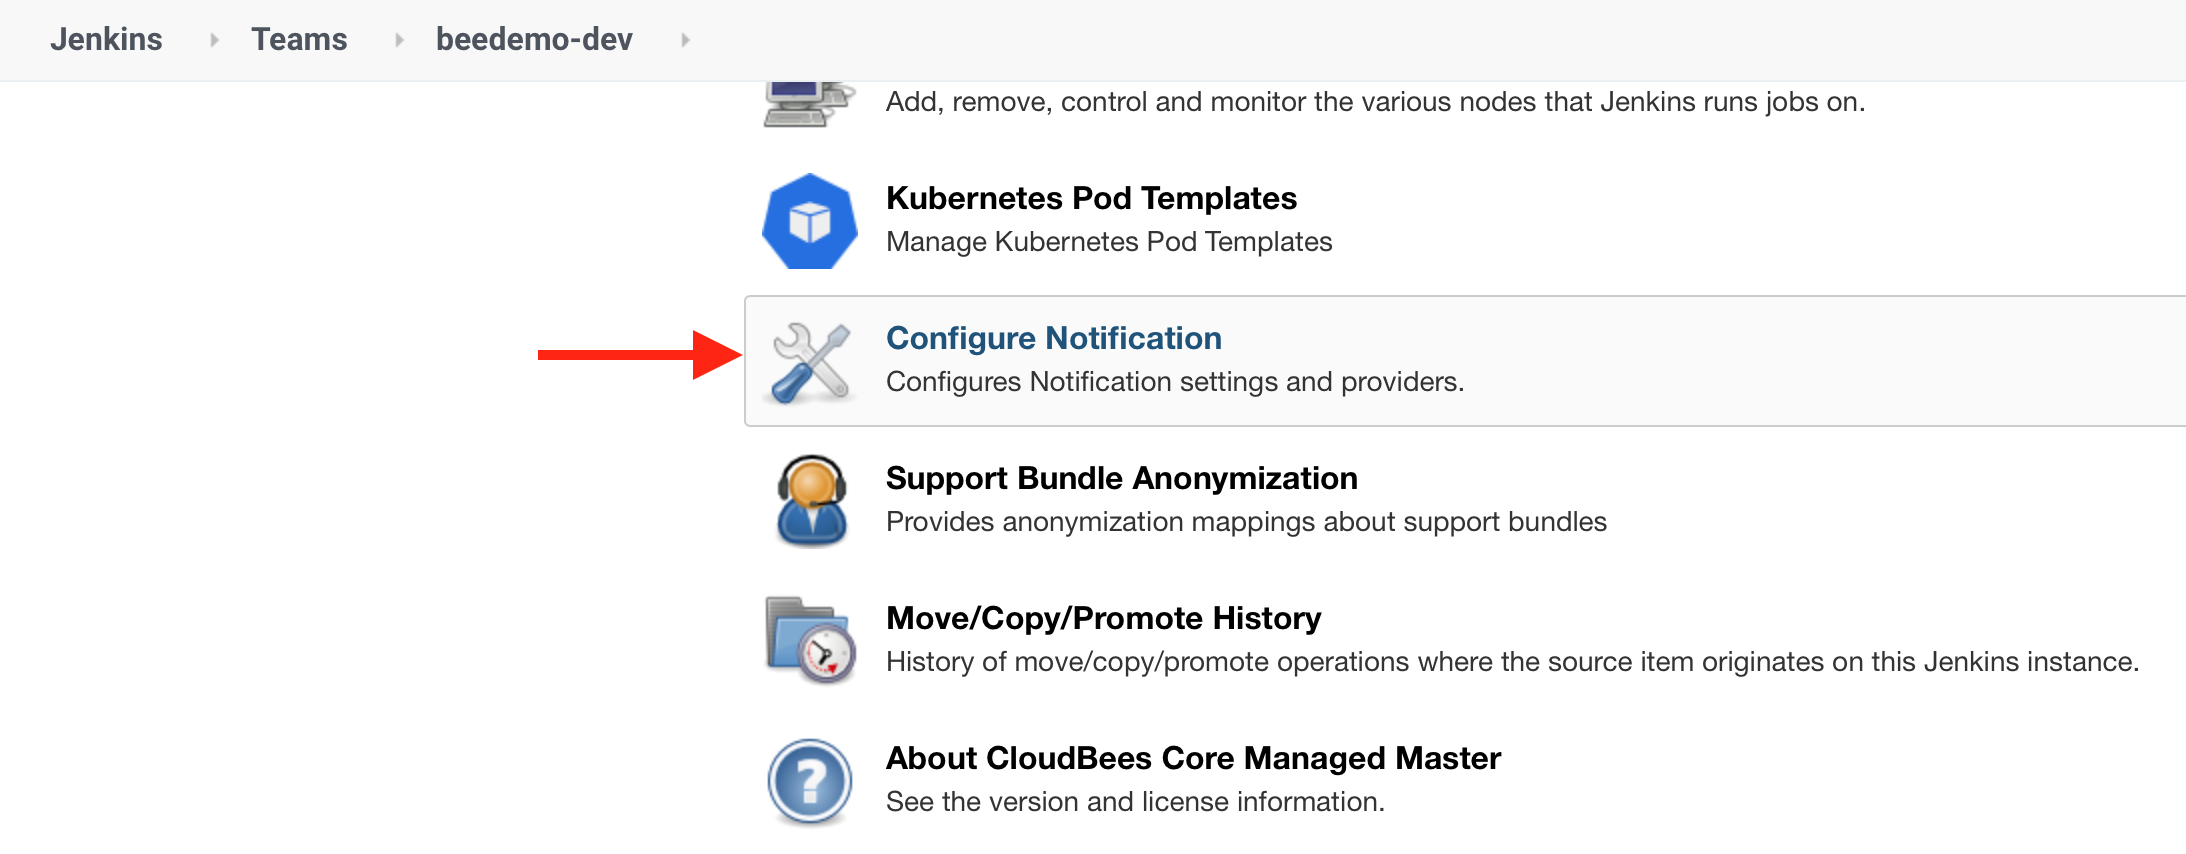
- On the Manage Jenkins page scroll down and click on the Configure Notification link.
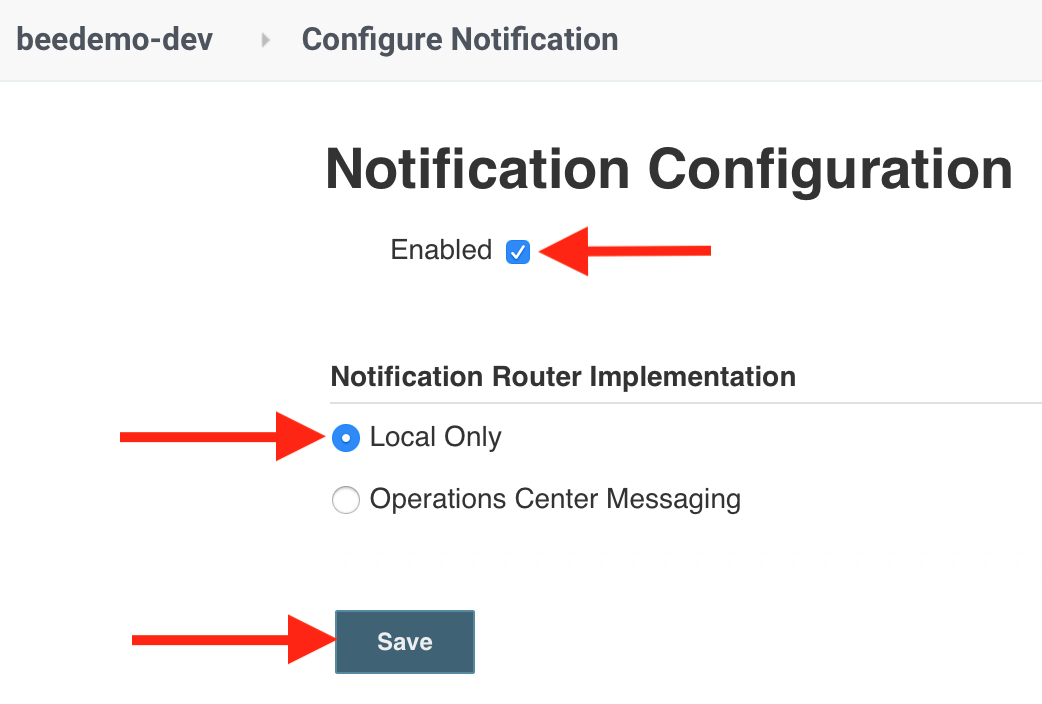
- Check the Enabled checkbox, select Local Only as the Notification Router Implementation and click the Save button.
Adding an event trigger
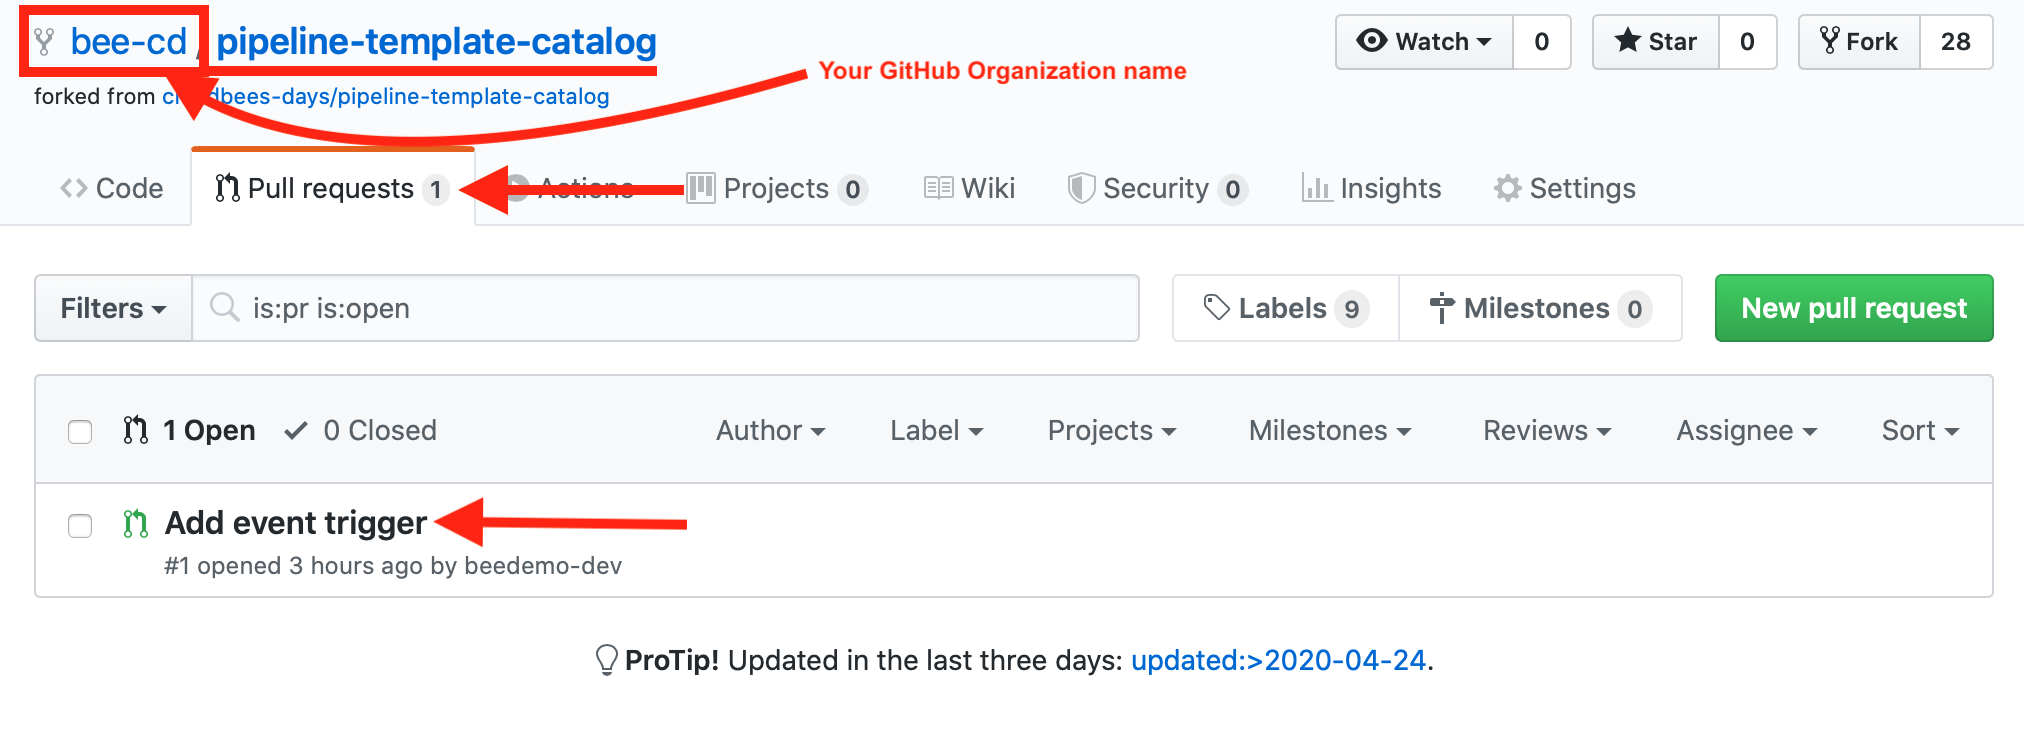
- In GitHub, navigate to the Add event trigger pull request (#1) in your fork of the pipeline-template-catalog repository.
- To see the changes that will be made to your copy of the VueJS template, click on the Files changed tab and scroll down to see the differences.
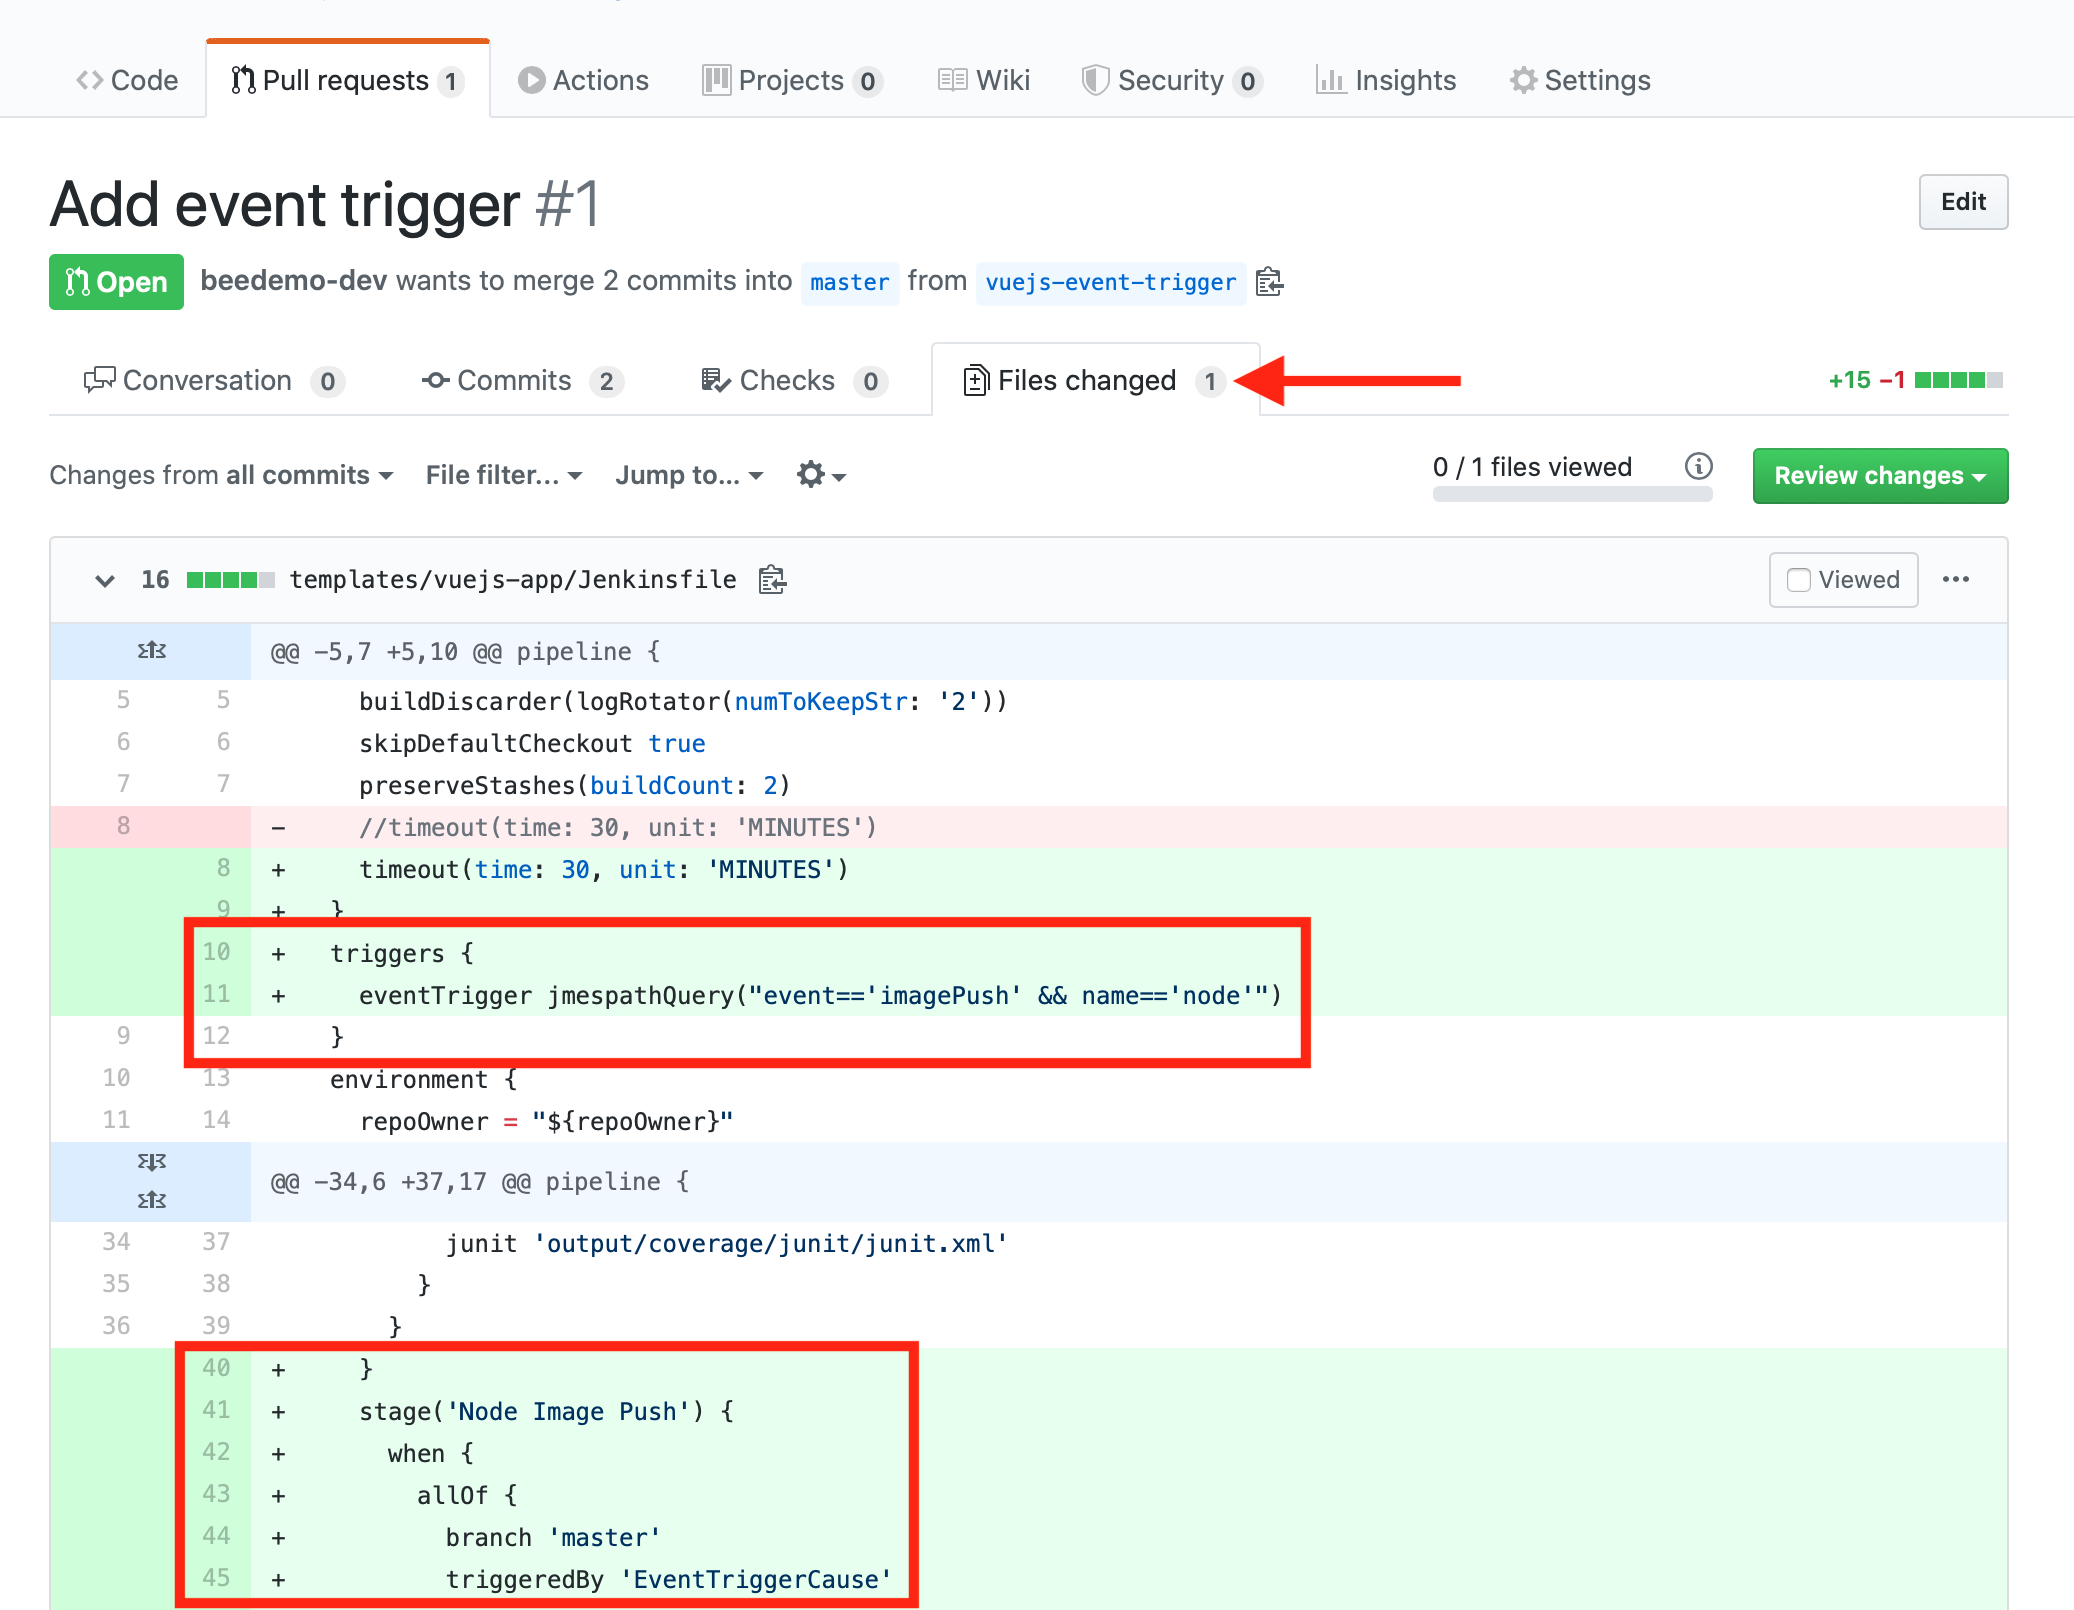
- We are adding the
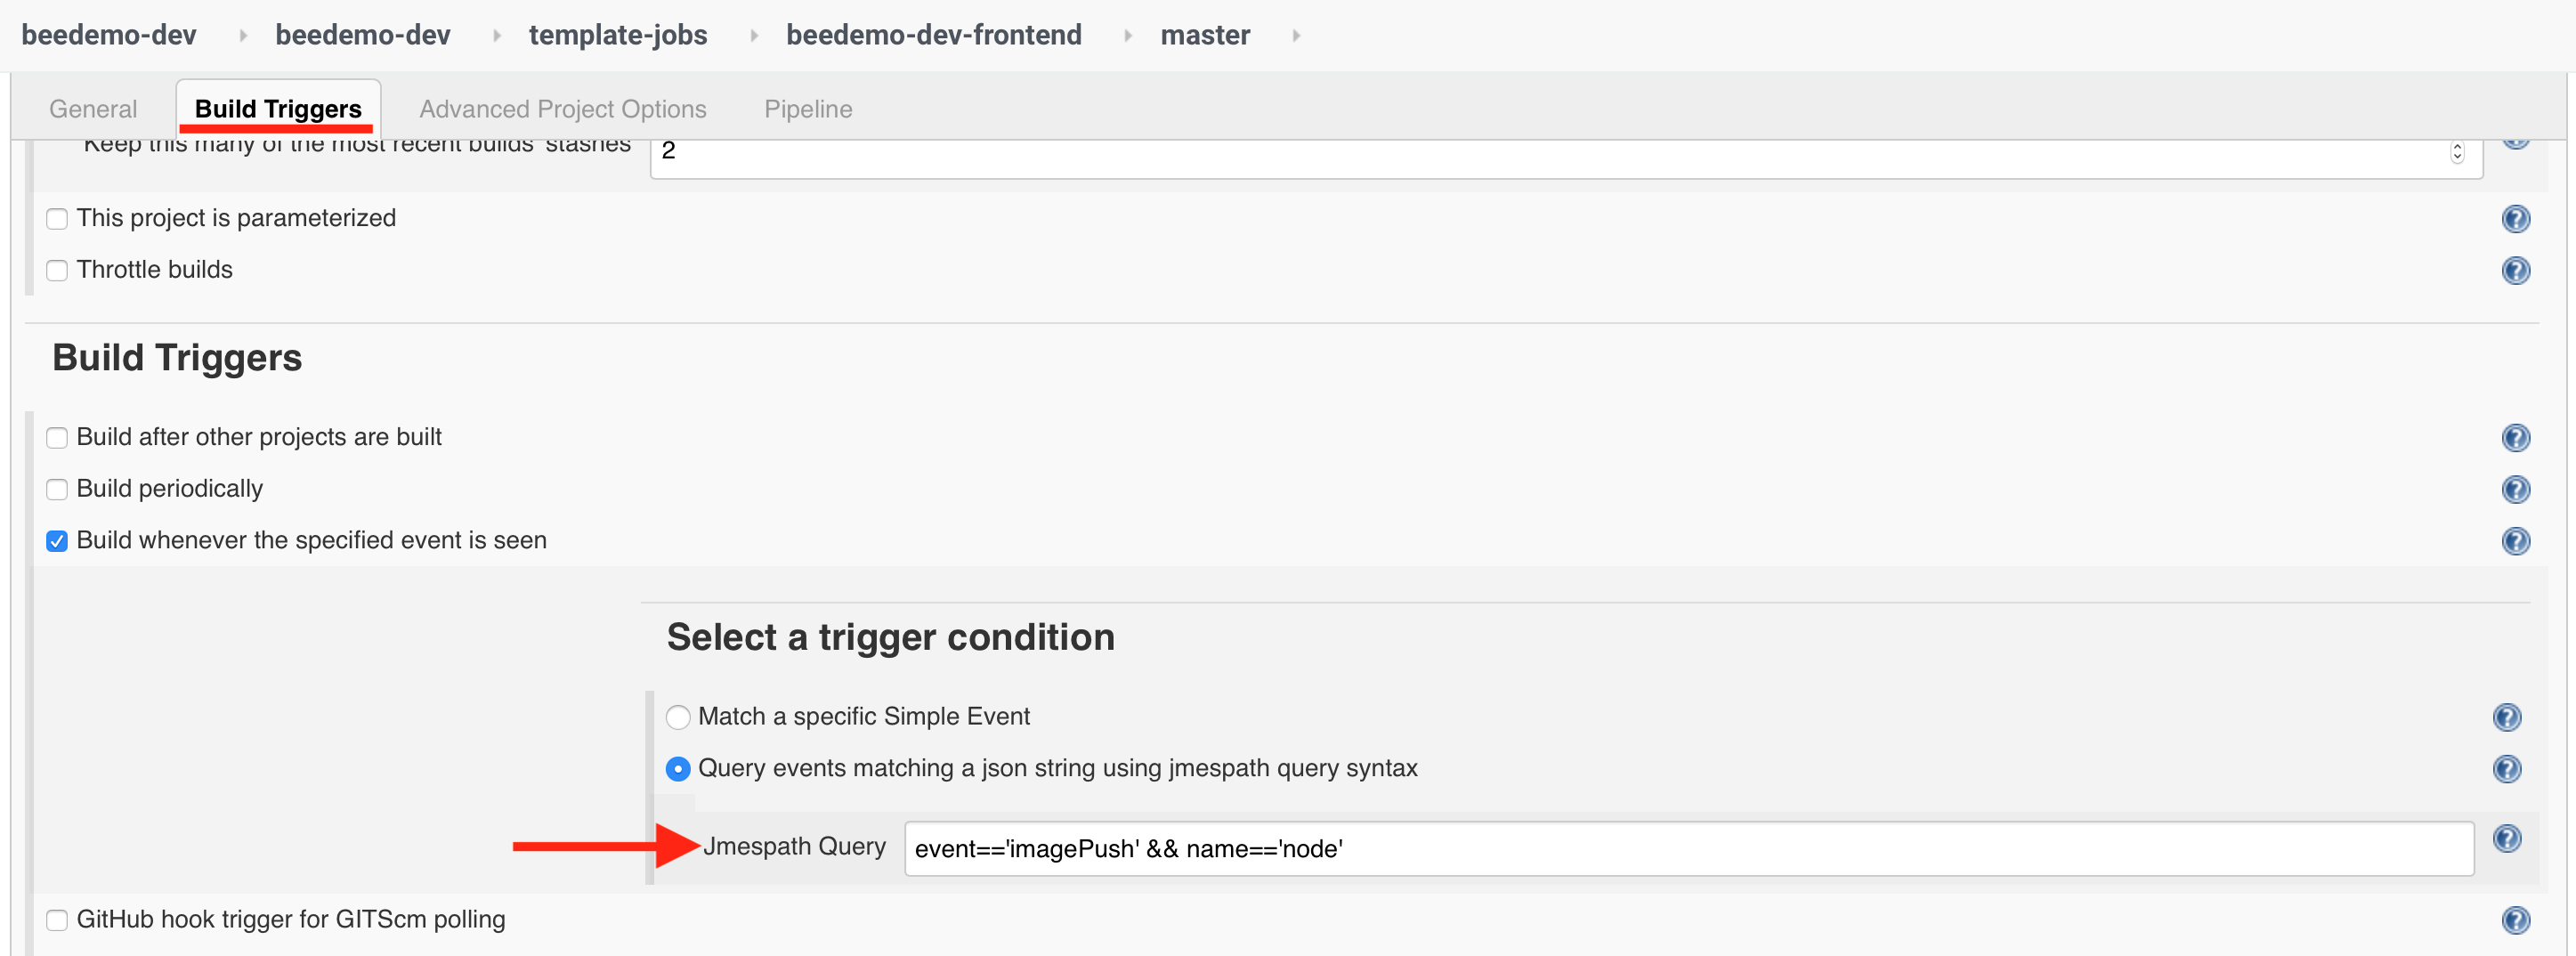
eventTriggerusingjmespathQueryand adding a newstagewhere we are using thegetImageBuildEventPayloadPipeline Shared Library step to extract the event payload. - Once you have reviewed the changes, click back on the Conversation tab and then click the green Merge pull request button and then the Confirm merge button.
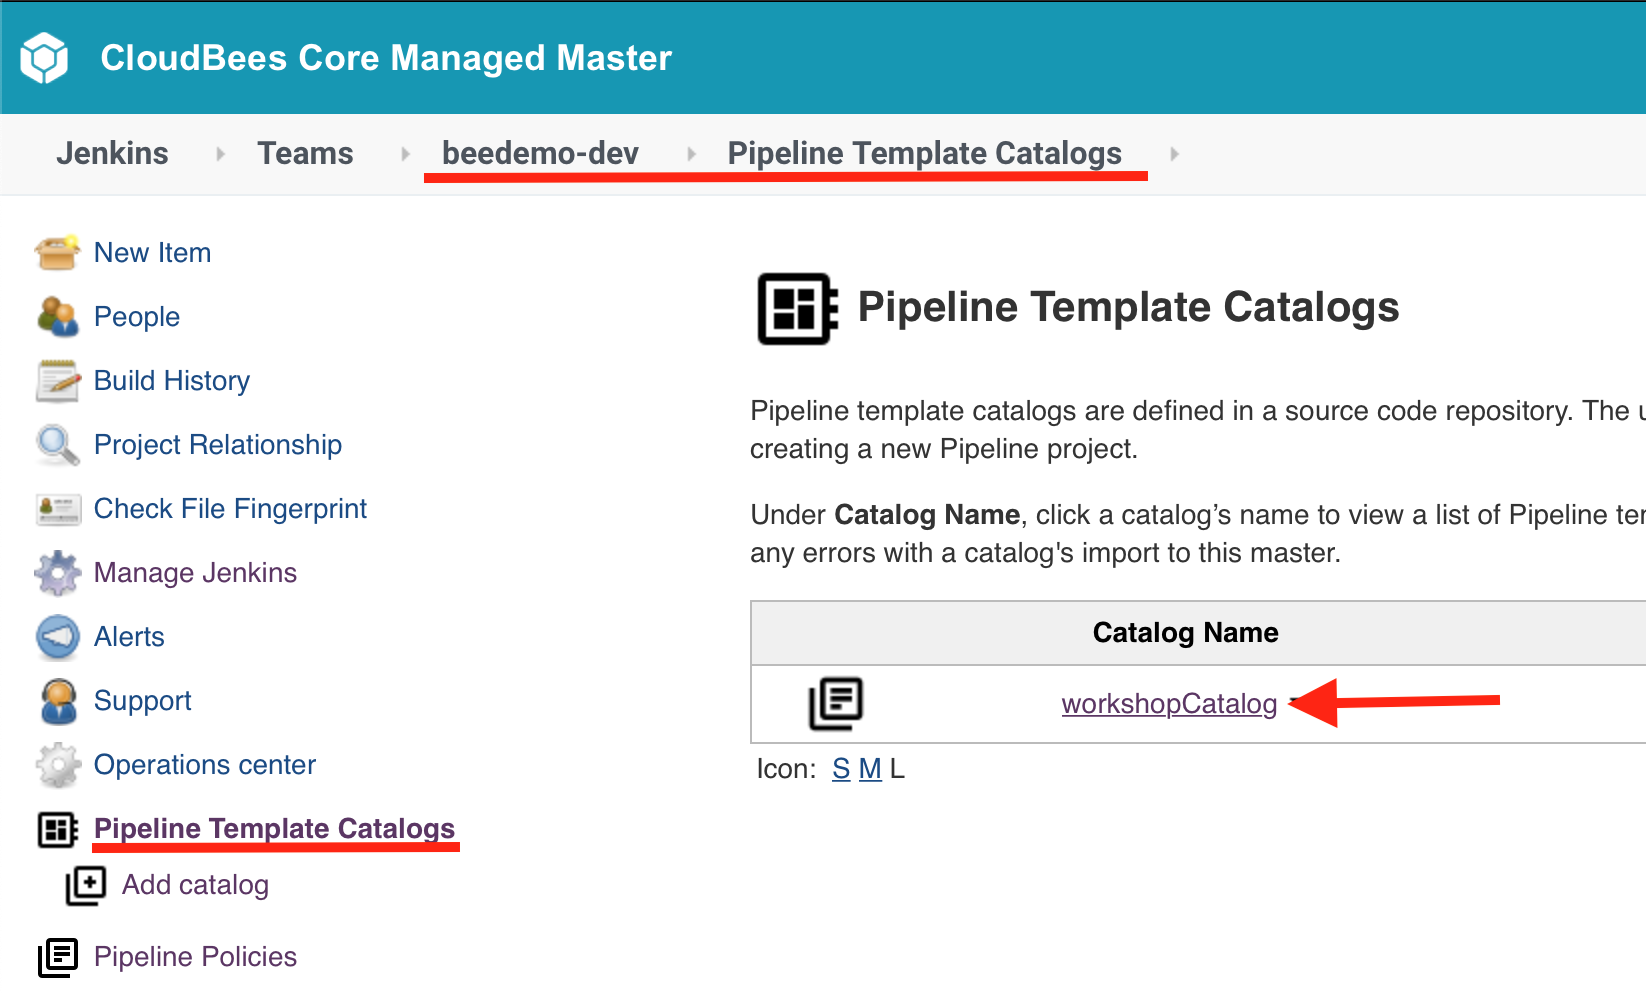
- Next, to ensure that we are using the updated VueJS template, we will re-import the Pipeline Template Catalog you just updated. Navigate to the top-level of your Team Master and click on Pipeline Template Catalogs in the left menu and then click the workshopCatalog link.
- Finally, in order to enable the trigger on your microblog-frontend Pipeline jobs you need to run the job once - so navigate to the master branch job for the microblog-frontend Mutlibranch project and click the Build Now link in the left menu.
- After the VueJS template is loaded the job configuration for your master branch job will be updated to reflect the addition of the event trigger.
Create a Pipeline to publish an event
Now that you have an eventTrigger added to your VueJS template we need to create a job that will publish an event that will trigger it. Each of you will create a simple Pipeline job that will publish an event to imitate the real world scenario where a new node base image would be built and pushed - typically by another team on a different Team Master.
- On your Team Master and ensure that you are in the folder with the same name as your Team Master - you should see the
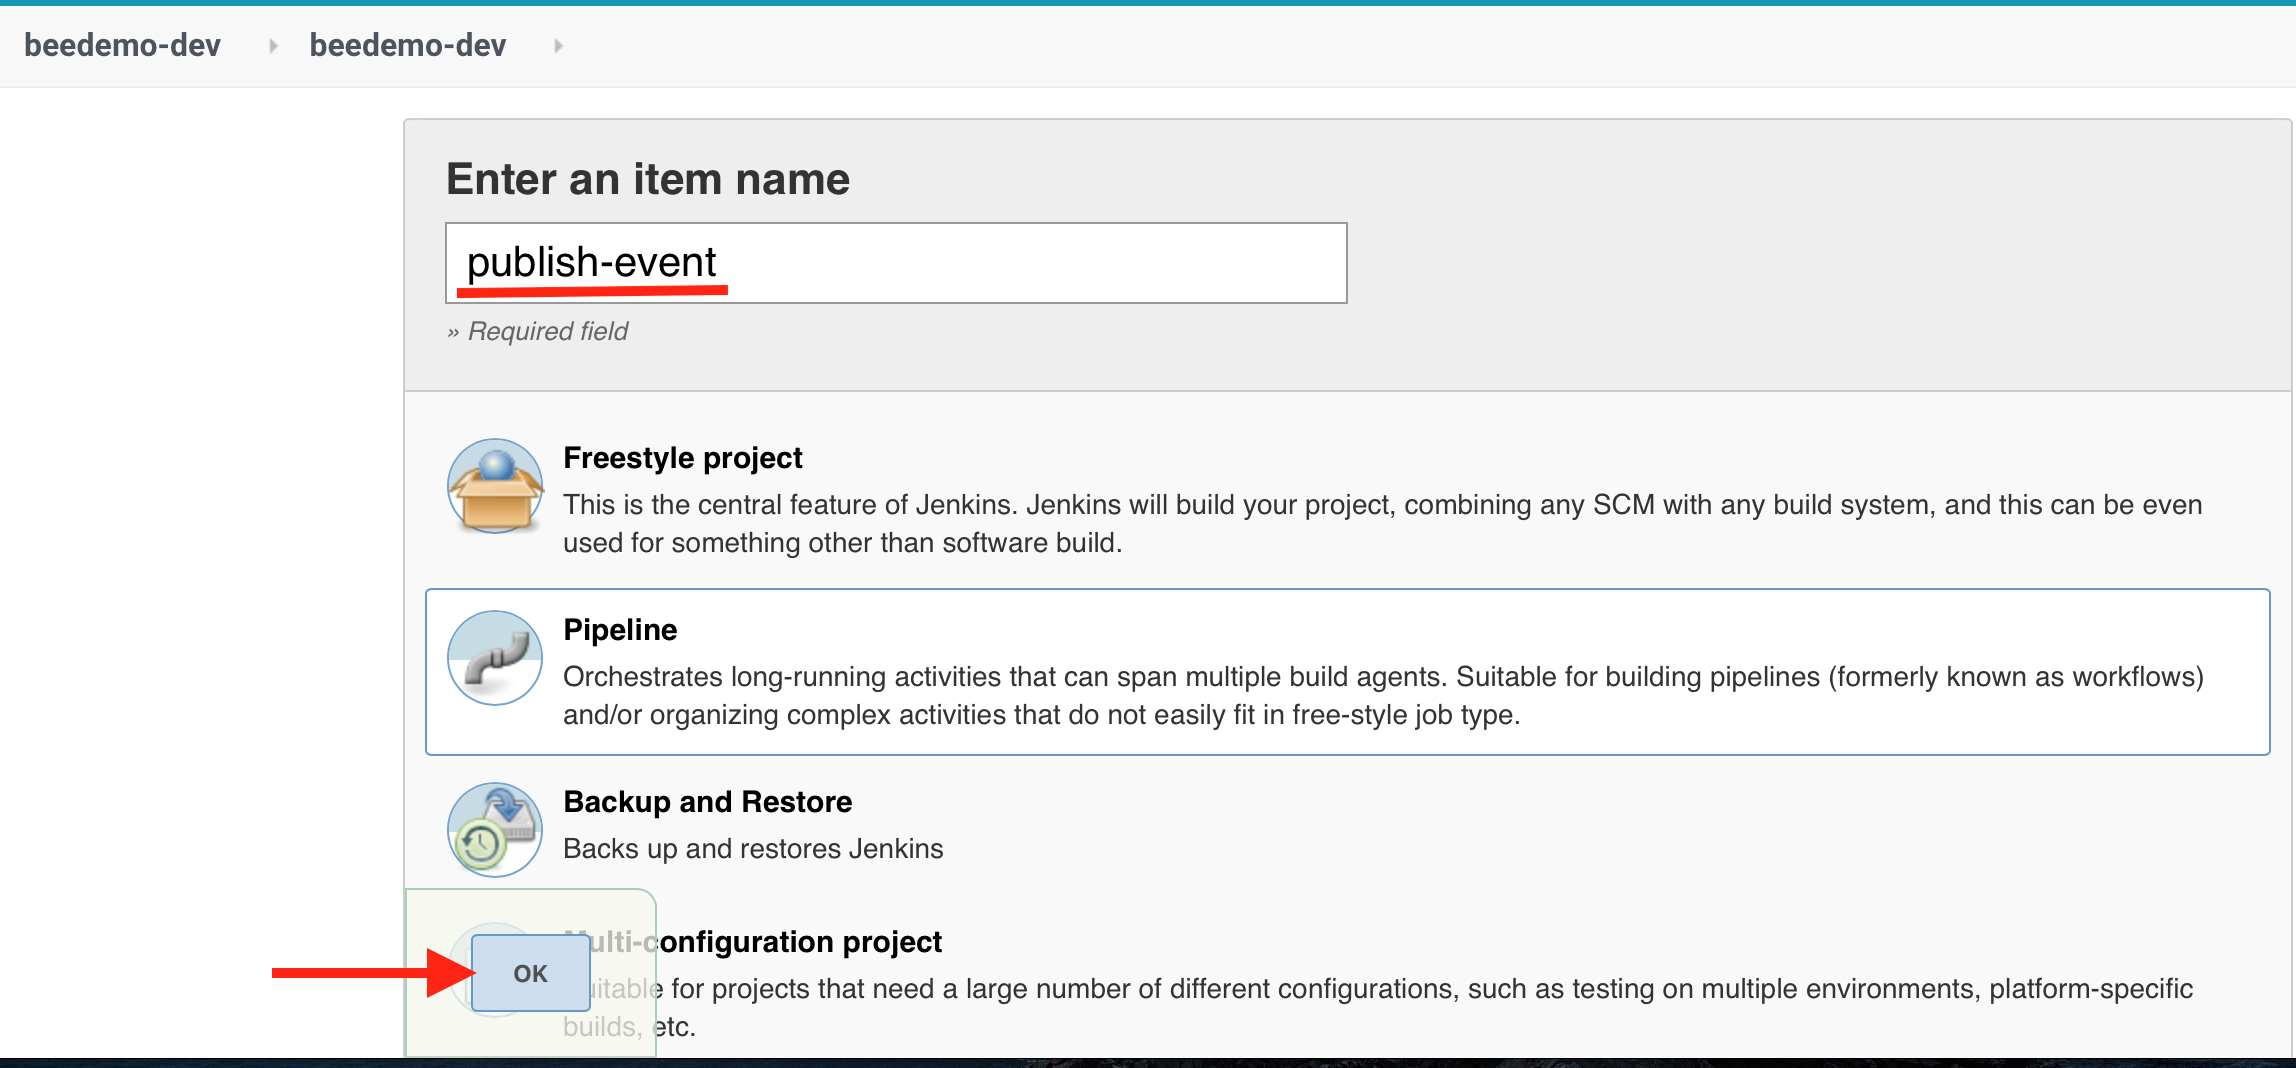
core-workshop-setupPipeline job. - Click on the New Item link in the left navigation menu - again, make sure that you are in the folder with the same name as your Team Master, and not at the root of your Team Master.
- Enter an item name - say publish-event - then select Pipeline as the item type and then click the OK button.
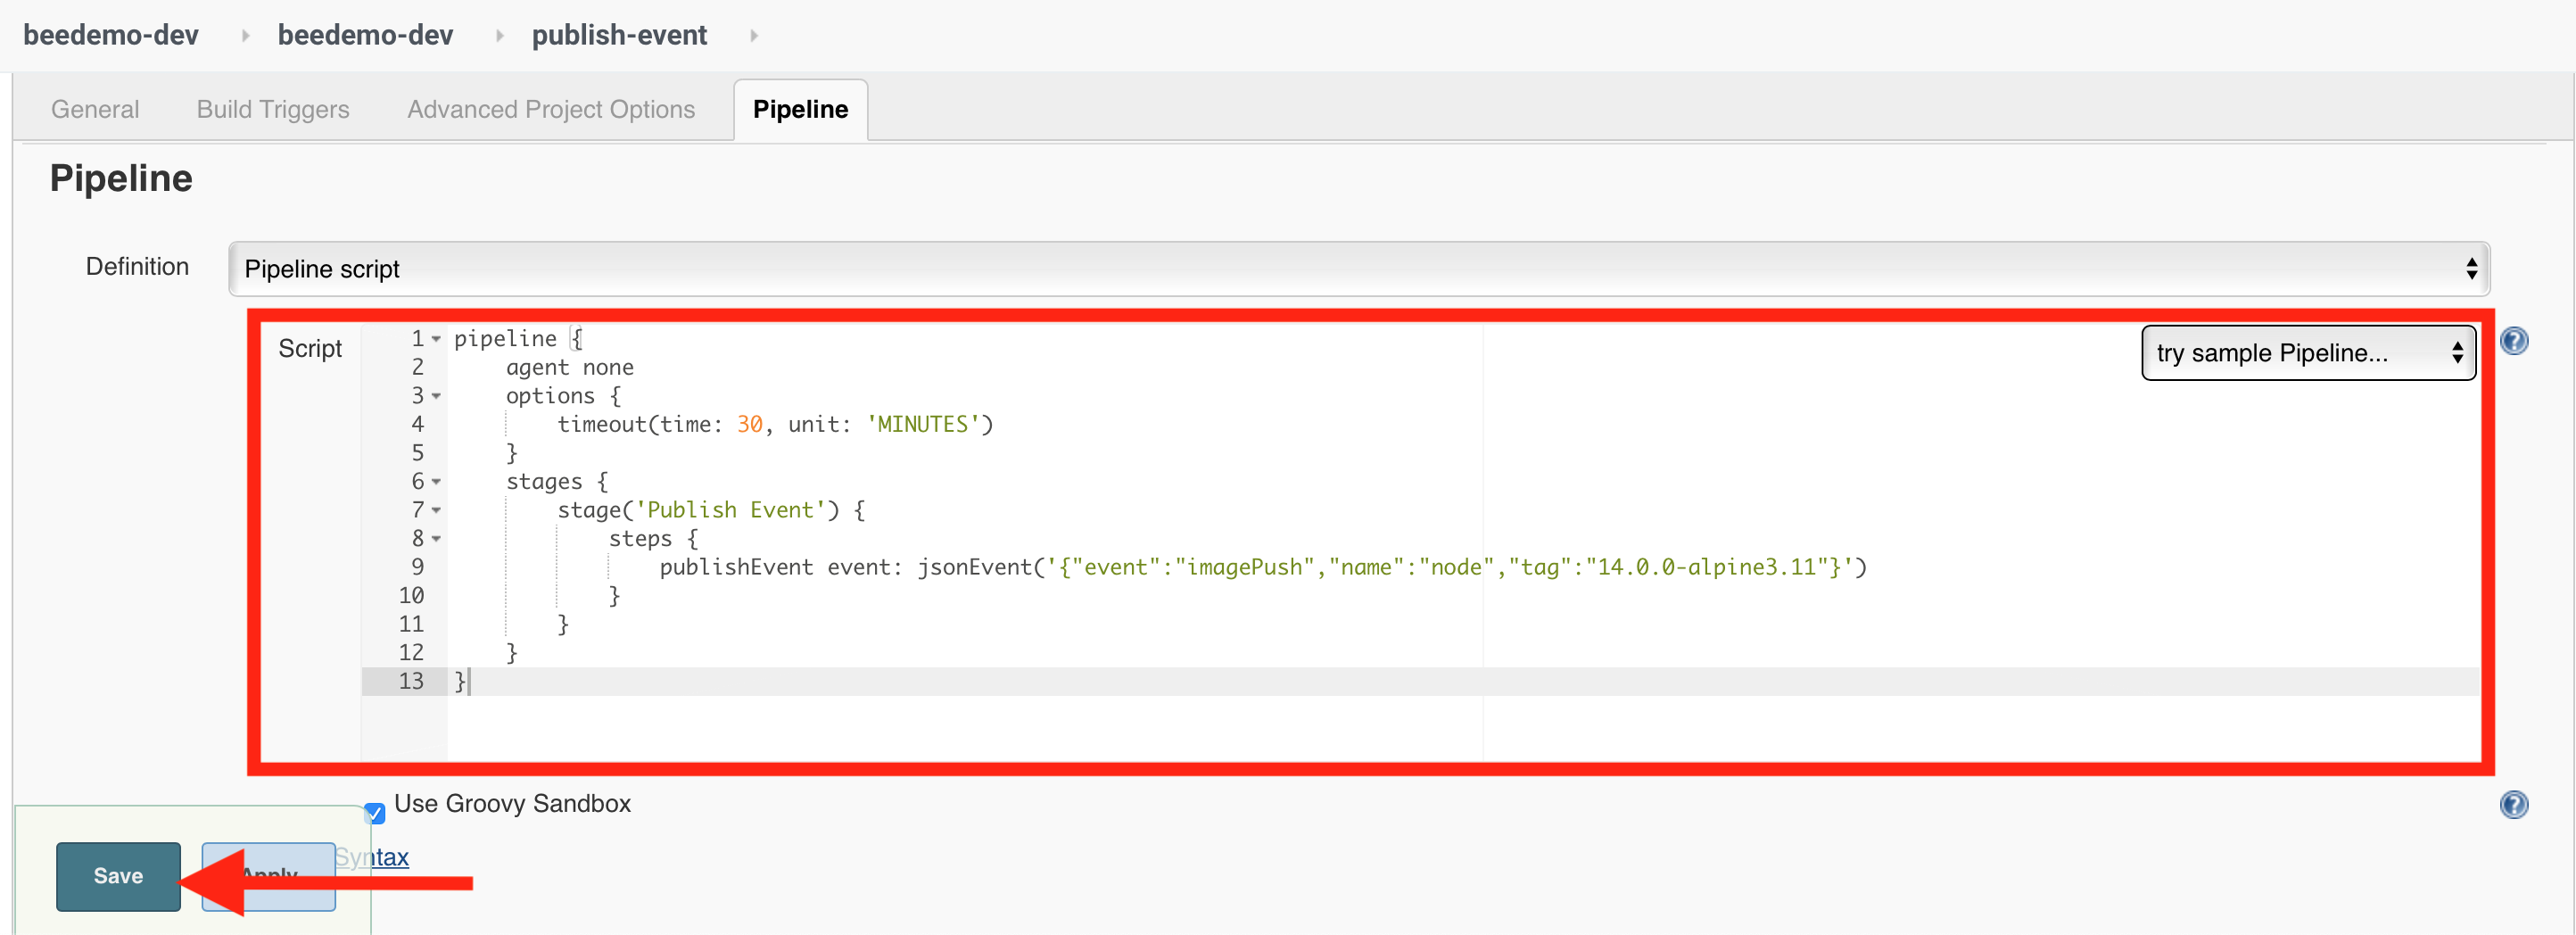
Copy the following Pipeline and paste it into the Script text area and click the Save button:
pipeline {
agent none
options {
    timeout(time: 30, unit: 'MINUTES')
}
stages {
    stage('Publish Event') {
        steps {
            publishEvent event: jsonEvent('{"event":"imagePush","name":"node","tag":"14.0.0-alpine3.11"}')
        }
    }
}
}
- Click the Build Now link in the left menu.

- Once the publish-event Pipeline job completes successfully you will see your job for the microblog-frontend Mutlibranch project triggered.
- Once the master branch job completes successfully you can see in the logs:
Resolved base name $NODE_IMAGE to node:14.0.0-alpine3.11as specified by the event you published above.
For instructor led workshops please returns to the workshop slides.
You may proceed to the next lab: Hibernating Masters or choose another lab on the Main Lab Page.